5 Pre-School Learning Activities Using Ice Cream Sticks
4 May 2018 | 3 min Read
surabhi gupta
Author | 5 Articles
Summer is here and so is the season of Ice cream bars. As a DIY mom, I am collecting the Ice cream sticks for few weeks now and would be presenting 5 fun ways to use these sticks for creating learning Activities for your kids.
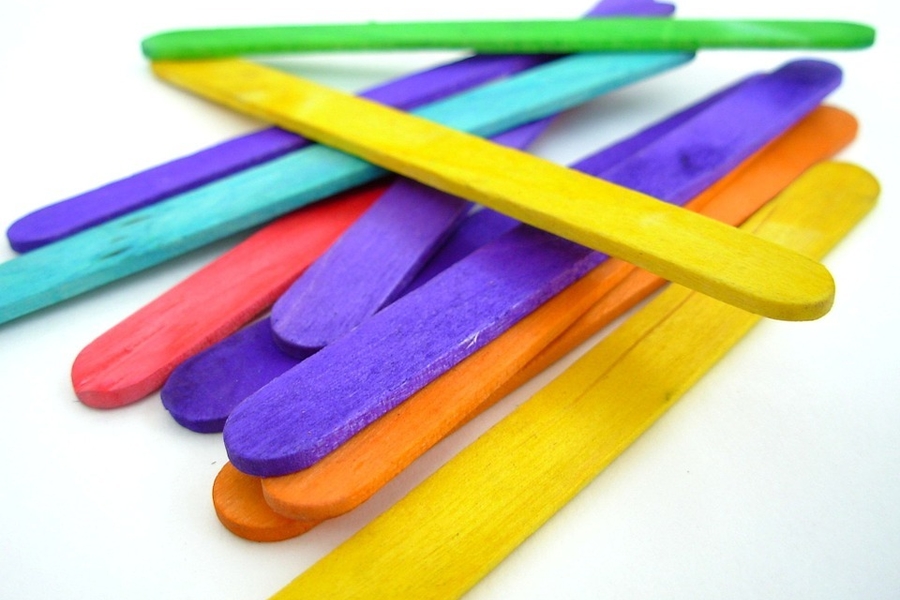
These sticks are available in various colours if purchased from market. Otherwise, you can easily colour the natural shade sticks with markers for making it more attractive for your child. I would be using coloured as well as natural shade sticks in these activities.
1. Visual Discrimination Activities

- Create some random patterns on the stick using markers or dot stickers.
- Either draw the same pattern on paper for the sticks to be matched or create same pattern on rest of ice cream sticks.
- The child needs to read the pattern on the stick and find the matching one.
2. Fine Motor Skills

- Take a cardboard box where you draw slits to push the ice cream sticks.
- For toddlers, it can be a simple fine motor skills activity to push the sticks.
3. Numbers and Alphabets Matching Activities

- This is an extension of the fine motor skill activity given above.
- For Toddlers, the slits can either be marked with colour code ( to match the stick of colour to the slit colour)
- For Preschoolers, the slit can be marked with alphabet code ( to match uppercase alphabet on box to lowercase alphabet on stick) or number code ( to match the corresponding number written on stick).
- These activities can be further extended to basic phonics activities, addition activities etc.
4. Counting Activities

- Use dot stickers or any other stickers available.
- Each stick has 1,2,3,4 number of stickers respectively.
- The child would count the stickers on each stick and match to the number.
- This activity can be further extended to “Uppercase- lowercase” alphabet matching, Number matching etc. as per the requirement of the child.
5. DIY Crafts

- Colour the sticks in the shade of your choice using markers.
- It provides a different sensorial experience to the child to colour the wooden surface of the stick.
- Once dried, you can write messages on them, arrange them in different shapes/patterns to create your imagination.
- Here is the “DIY FISH” craft created by pasting the sticks( coloured by child) on paper in a triangle shape. Just add eyes,fins..and your FISH is ready
- The other picture has few sticks joined together with cello tape at the back. And our love messages are written on each of the stick.
These sticks work amazing as open ended toys too. Let the child explore these sticks to make shapes, houses, boats or any random patterns. Combine these with some wooden blocks and play dough and you will have 3-D structures. Kindly preserve them and let the imagination of child create wonders.
Happy parenting everyone!!
Disclaimer: All photographs in this article are original and belong to the author. Reproducing them in any form without the permission of the author will not be allowed.
Also read: Fun DIY Activity: Colorful Bookmarks
Explore the entire collection of articles: Early Learning & Brain Development
A


Related Topics for you
Suggestions offered by doctors on BabyChakra are of advisory nature i.e., for educational and informational purposes only. Content posted on, created for, or compiled by BabyChakra is not intended or designed to replace your doctor's independent judgment about any symptom, condition, or the appropriateness or risks of a procedure or treatment for a given person.
